Using a Chlorinator with a Storage Tank

We recently got a letter from a reader in Alaska wondering how to install a chlorinator for use with a storage tank. This is a common setup because it is easy to install and effective at killing rotten-egg odor and oxidizing iron and manganese in water.
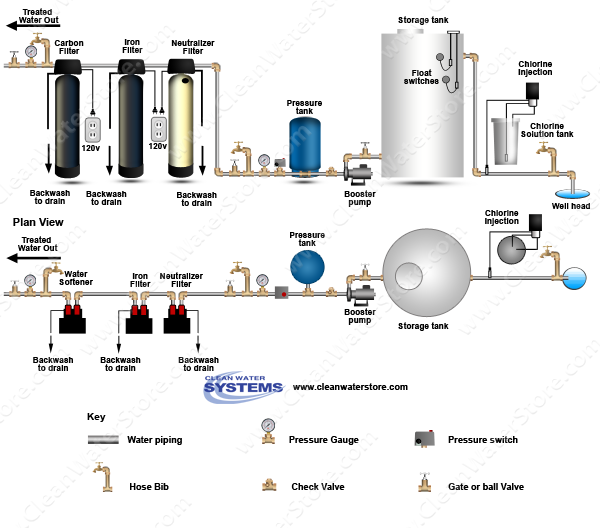
A standard installation of a chlorinator and storage tank will look something like this:
When the upper float switch in the storage tank drops down, the well pump and the chlorine metering pump turn on and water starts to flow into the storage tank. As the water flows past the injection point of the chlorinator, a small amount of chlorine is injected into the water automatically.
Depending on the water's pH, typically 1.0 PPM of chlorine is injected for every 1.0 PPM of iron. For hydrogen sulfide (H2S) a dosage of 2.0 to 4.0 PPM of chlorine is needed for every 1.0 PPM of H2S.
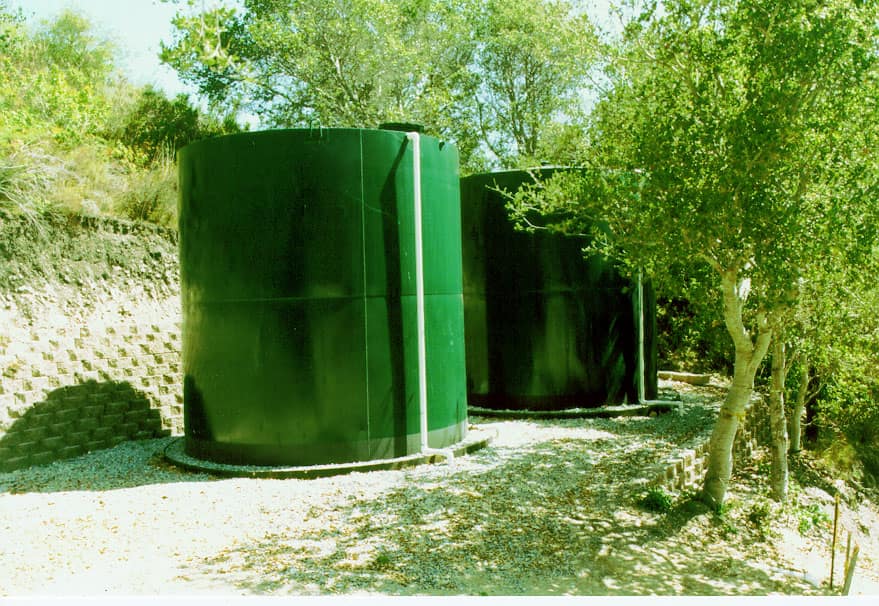
The storage tank allows time for the chlorine to work on the odors and oxidize the iron and H2S. After the tank, a Pro-OX or Greensand iron filter can be used to remove any oxidized particles and sediment, which are commonly present after chlorination. Some people also install an automatically backwashing carbon filter to remove any chlorine residual and polish the water to a fine clarity. The result is clean, disinfected, odor-free, iron-free water!
Before you install a chlorinator, make sure you know how much chlorine you'll be injecting, what size chlorinator you'll need, and how much contact time will be necessary given your solution strength and tank size.
With this information, you should have no trouble finding the right chlorinator for use with your storage tank and well water system. If you have any further questions, e-mail us at support@cleanwaterstore.com, contact us on Facebook, or use our online contact form. We're here to help!

