A Common Mistake: Failure to Properly Test the Well Water Chemistry
Why Skipping Water Testing Is a Costly Mistake

Continuing with our theme of common mistakes made when selecting a well water treatment system, today we will focus on the failure to properly test your well water chemistry.
This could be considered one of the most important mistakes, as it is the first step in selecting a treatment system. If your tests are not accurate or correct, you could be addressing the wrong problem entirely and end up with the wrong system based on your needs.
In this article, we will help guide you on deciding what to test for and how to properly test your water by correctly obtaining an accurate sample.
Why Should I Test My Well?
Municipal city water systems are required to test their water supplies regularly to ensure the water is safe to drink. However, there is no requirement to test a private well, except for bacteria, when it is first drilled or the pump is changed. The fact is, you are responsible for making sure your water is safe.
Most private wells provide a clean, safe supply of water; however, contaminants can pollute private wells, and unfortunately, you cannot see, smell or taste most of them. Consequently, it is recommended that you test your well water on a regular basis.
The decision on what to test your water for should be based on the types of land uses near your well.
What Tests Should Be Done?
A general mineral analysis which includes nitrate plus coliform bacteria is a good place to start. If you live near gas stations, industry, agricultural areas or a major highway you would also want to test for organic compounds, heavy metals, pesticides, and herbicides as well.
General Minerals
A general mineral test will include calcium, magnesium, chloride, nitrate, potassium, and sodium, along with metals such as iron and manganese. If you are experiencing stains or sediment, a general mineral analysis will tell you what is causing the problem.
If the water has a funny taste or odor, a general mineral analysis with bacteria will usually tell you what is causing the problem. These tests show if the water will be corrosive to pipes, or form mineral scale in your pipes, and the levels of minerals and salts. If you are having problems with color in the water or brown staining, additional tests for tannins are recommended.
Coliform Bacteria
Coliform bacteria live in soil, on vegetation, and in surface water. Coliform bacteria found in the intestines of warm-blooded animals and their feces are called E. coli.
Some strains of coliform bacteria can survive for long periods in soil and water and can be carried into well casings by insects. Coliform bacteria are the most common contaminants found in private water systems.
Private wells should be tested for bacteria at least once a year. However, bacteria are only one of many possible contaminants.

Lead and Copper
Testing for lead and copper should be done on “first draw” water that has been stagnant in the distribution pipes for at least six hours. If lead and copper levels are high due to plumbing, they can usually be reduced to acceptable levels by flushing the faucet for a minute or two before collecting water for drinking.
Nitrate
Nitrate forms when nitrogen from fertilizers, animal wastes, septic systems, municipal sewage sludge, decaying plants, and other sources combines with oxygenated water. In infants under six months of age, nitrate exposure can cause a serious condition called methemoglobinemia or “blue-baby syndrome.” Infants with this condition need immediate medical care because it can lead to coma and death.
Test for nitrate if a pregnant woman or infant will be drinking the water. Everyone should have their water tested for nitrate at least once. If you live within ¼ mile of a corn, soybean, or vegetable field, you should test your water for nitrates regularly.
Well owners should also test for nitrates regularly if their well is located near an area where fertilizers are manufactured or handled, or an animal feedlot or manure storage area.
Solvents, Gas, and Oil
Household and industrial solvents, gasoline, and fuel oil are examples of volatile organic chemicals, or VOCs. Some VOCs are relatively non-toxic, while others can cause cancer, birth defects, and reproductive problems. Fuel oil and gasoline can enter groundwater as a result of a leaking storage tank or spill.
Wells located within ¼ mile of an active or abandoned gasoline station, home or farm fuel tank, or bulk storage tank have approximately a 25% chance of being contaminated and should be tested at least once for PVOCs (VOCs from petroleum products).
Paint Thinners, Dry Cleaning, and Industrial Chemicals
Solvents can enter groundwater from spills, improper disposal, leaking storage tanks, and landfills. Wells that are located within ¼ mile of a landfill, dry cleaner, auto repair shop, or industrial site where solvents have been used should be tested for VOCs.
Since solvents, gasoline, and fuel oil are commonly found in our environment, all owners of private wells should consider having their water tested for VOCs at least once.
Pesticides and Herbicides
Pesticides and herbicides are chemicals used to control insects and weeds. Some of these have entered the groundwater as a result of their use on farm fields. Others have been found in groundwater following spills and improper disposal.
Long-term use of drinking water that contains pesticide residues may increase your risk of developing cancer or other serious health problems.
If your well is located within a short proximity to a corn, soybean, or vegetable field, you should test your well water for pesticides. You should also consider a pesticide test if your well is within a mile of where pesticides are manufactured or used.
Well owners who are uncertain about the use of pesticides in their area may also want to consider having their water tested at least once.
Proper Testing Techniques
Whether you are collecting a sample for an at-home test or sending it to a professional lab, correctly gathering a sample is crucial to the accuracy of your test and to correctly diagnosing problems with your well.
Although the steps for testing for any of the contaminants above for an at-home test may vary, the most important thing to do is to follow the directions as closely as possible. Something as simple as testing your hot water instead of cold, or testing the water that instantly comes out of the faucet, can make a huge difference. Additionally, for all types of testing, avoiding contamination is crucial.
Some of the steps to avoiding contamination include NEVER:
- Rinsing the sampling bottle
- Let water overflow or splash down the side of the bottle
- Put the cap on a countertop (it can get contaminated)
- Open the bottle until you are ready to collect your sample
- Touch the inside of the cap, mouth, or neck of the bottle
- Collect samples from a garden hose, outside tap, or other places that might be dirty
If you are collecting a water sample for the WaterCheck test kits, here are some important instructions:
- Wash your hands with soap and warm water.
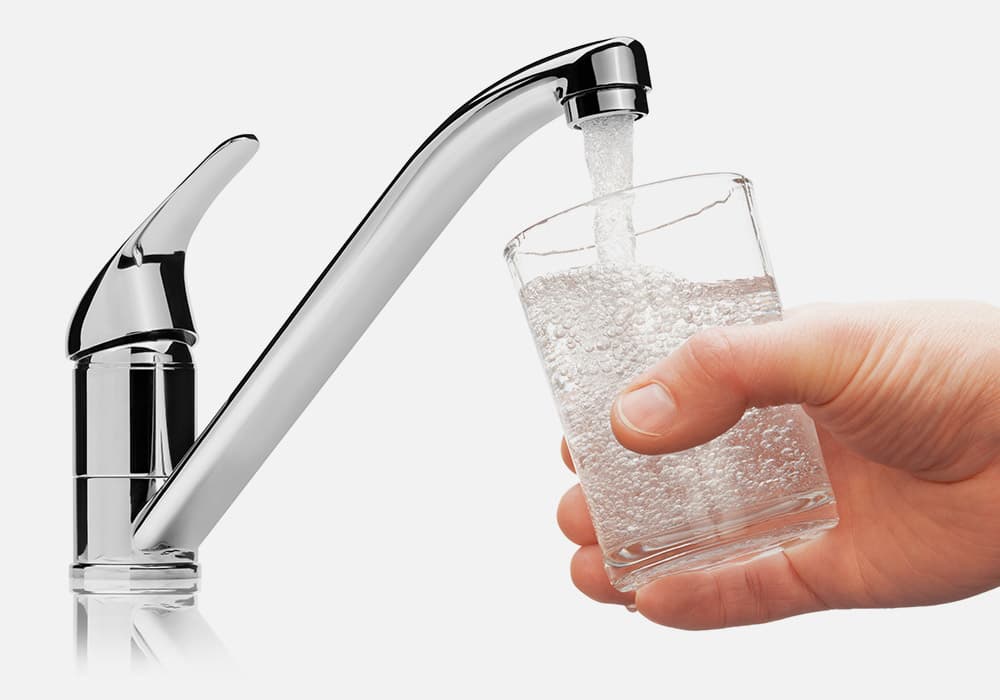
- Take the sample from a cold water tap. Use a tap without a screen or remove the screen before you collect the sample.
- Let the cold water run constantly for at least 2 minutes before you collect the sample.
- Hold the bottle near the base of the tap to get the sample. Fill it past the 200 mL mark (to the shoulder of the bottle). Do not overfill the bottle.
- Put the cap on the bottle right away. Make sure the cap is secure, but do not over-tighten it.
- Put the identification label from the requisition form on the bottle.
- Fill out the requisition form and include the information below. If you miss anything on the requisition, your sample might not be processed.
- Name and daytime phone number
- Mailing address and postal code
- Collection site (e.g., kitchen sink)
- Legal land description and/or civic address
- The date and time sample was collected
- Name of the person who collected the sample
- On the requisition form, indicate whether this is a re-sample. You also need to complete section A (Drinking Water) and include any comments or special requests at the bottom of the requisition.
- Put the sample and requisition form in the plastic bag that came with the sample bottle.
- Place the sample in a cooler filled with ice packs and bring it to a drop-off location near you immediately, or if sent by express, select the overnight delivery option for the next morning.
Introduction to Private Well Testing
Private well testing is a crucial step in ensuring the safety and quality of drinking water for private well owners. According to the National Ground Water Association, it is recommended that private well owners test their water at least annually for bacteria, nitrates, and other contaminants. The local health department can provide guidance on the type and frequency of testing specific to your location.
As a private well owner, it is essential to understand the importance of maintaining your well and water system to prevent contamination and ensure the health and safety of your family.
Understanding Water Quality
Water quality is a crucial aspect of owning a private well. The presence of coliform bacteria, nitrates, and other contaminants can pose a significant risk to public health. County health departments and state-certified laboratories can help private well owners understand their test results and advise on measures to take if the results indicate contamination.
It is essential to be aware of the common contaminants that can affect private well water, including bacteria, nitrates, and other substances. Regular testing and maintenance can help prevent contamination and ensure the quality of your drinking water.
Choosing the Right Water Test Kit
Choosing the right water test kit is crucial for private well owners. A user-friendly test kit can help you collect a water sample and test for various parameters, including pH levels, total alkalinity, and the presence of coliform bacteria.
When selecting a test kit, consider the type of contaminants you want to test for and the cost of the kit. It is also essential to ensure that the test kit is certified by a reputable organization, such as the National Ground Water Association.
Additionally, consider the packaging material and instructions provided with the test kit to ensure that you can collect a valid water sample.
Collecting a Water Sample
Collecting a water sample is a critical step in the testing process. It is essential to follow the instructions provided with the test kit to ensure that you collect a valid sample. The sample should be collected from the tap or well, and it is recommended that the sample be collected in a clean and sterile bottle.
The local health department or state-certified laboratory can provide guidance on the proper collection and handling of the water sample. It is also essential to consider the timing of the sample collection, as certain contaminants may be more prevalent at specific times of the year.
View our water testing tab to browse our selection of water testing kits.
If you still have questions, don’t hesitate to e-mail us at support@cleanwaterstore.com, leave us a message on Facebook, or use our online contact form for prompt, personalized assistance from our trained professionals. Thanks for reading!