How Work Done on Your Well Might Contaminate Your Drinking Water

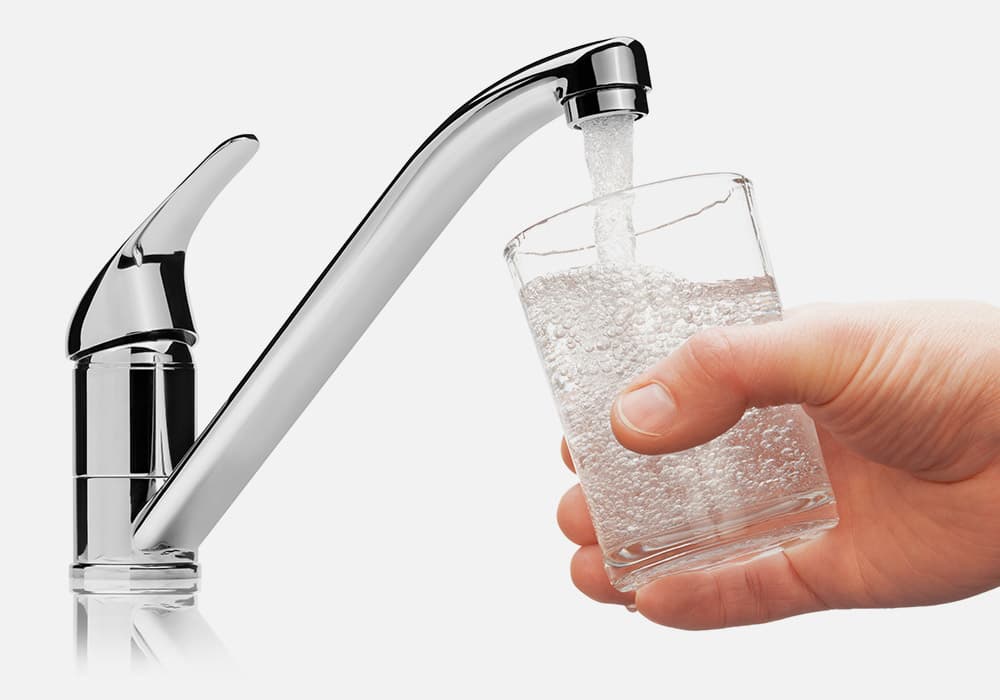
There are several ways that well water can become contaminated by coliform bacteria without any noticeable change in taste or odor. Contamination of drinking water from private wells can occur without warning, which is why it is essential to periodically monitor well water to detect any potential issues.
The United States Environmental Protection Agency recommends that private water supplies be tested annually for coliform bacteria to detect contamination problems early. This post will focus on the contamination of well water through recent work on the well and how to correct it through shock chlorination using liquid chlorine bleach.
Coliform bacteria tests are used as an indicator of the possible presence of disease-causing bacteria.
Other bacteria, such as iron and sulfur bacteria, while not a health threat, can produce obnoxious odors, tastes, and colors, and can cause plugging problems in pumps and water systems. Shock chlorination can eliminate the disease-causing bacteria and other nuisance organisms that cause tastes, odors, and slime.
Contamination of Drinking Water During Well Work
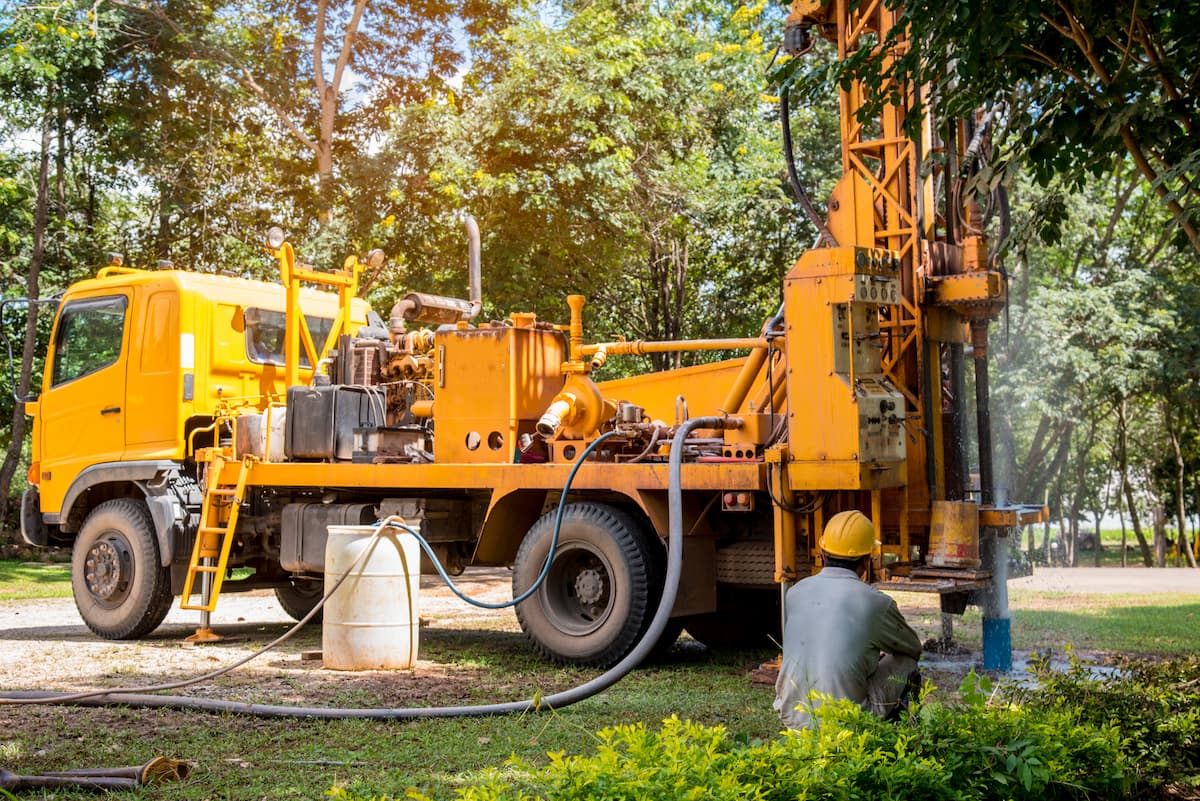
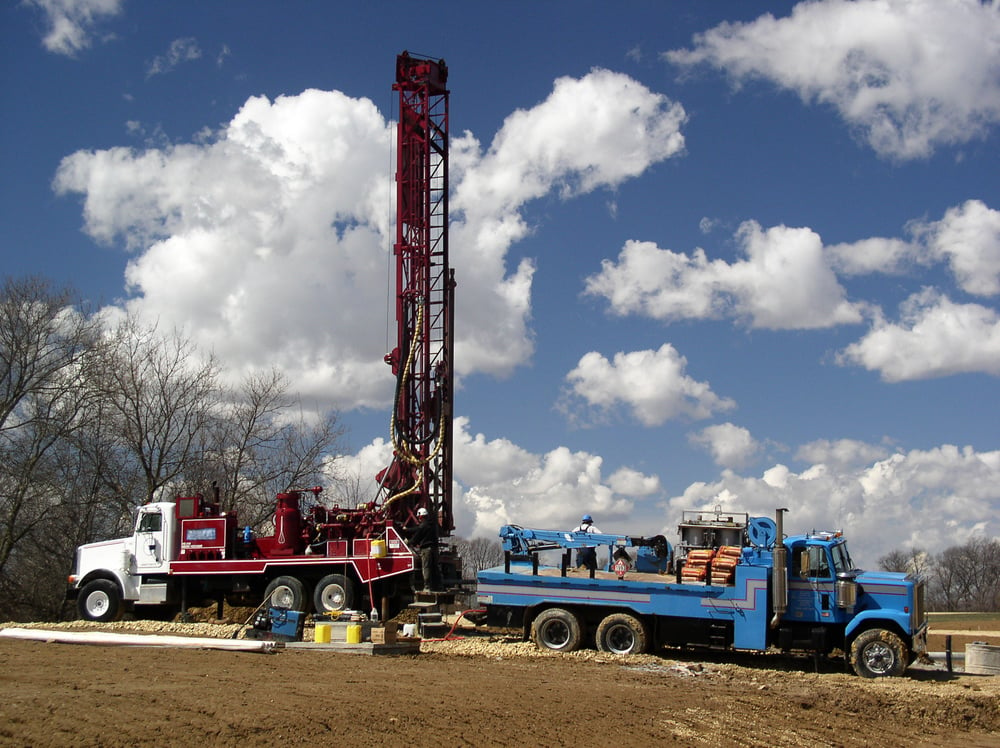
Well work—such as drilling or pump repair—can introduce coliform bacteria into your water supply. Contaminants may enter the well through tools, pipes, drilling fluids, or even airborne particles that fall into the open casing.
How Contamination Occurs
There are two primary ways contamination can occur:
- Initial Well Drilling and Installation
The original drilling and pump installation is often the first—and sometimes most severe—point of bacterial exposure. Improper practices during construction can result in long-term bacterial issues. - Well or Pump Repairs
Repairs present another opportunity for bacteria to enter. Whenever the well is opened or disturbed, contaminants can be introduced if proper sanitation procedures are not followed.
Risks During Drilling
Drilled water must always be free of bacteria and viruses. Ideally, water used in the process should be treated or chlorinated, rather than drawn from a nearby well, which may also be contaminated.
- Use water with at least 50 PPM of chlorine for all stages of drilling or pump work.
- Do not assume water from another source is safe unless it’s been tested and treated.
Equipment Precautions
Tools, hoses, and pipes can easily become contamination sources:
- Avoid letting equipment sit in dirt or on an uncovered truck bed.
- Keep tools dry, clean, and covered when not in use.
- Before placing any equipment into the well, rinse it with a chlorinated solution to reduce the risk of introducing bacteria or viruses.
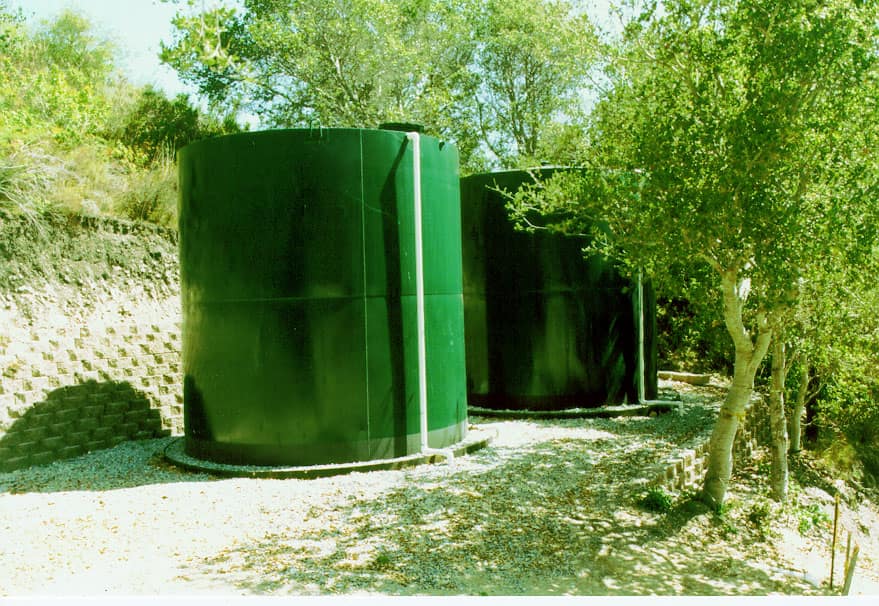
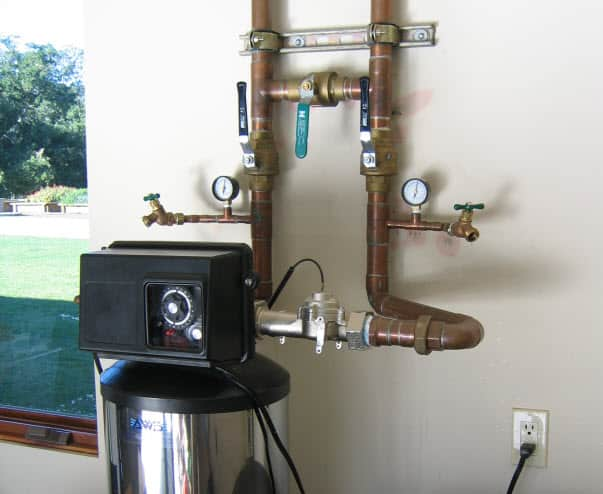
Using Bleach for Shock Chlorination
Shock chlorination is an effective method for disinfecting well water, particularly after repairs or following bacterial contamination. This method uses a chlorine bleach solution to sanitize the well, plumbing system, and storage tanks.
Step 1: Clean and Prepare the Well
Start by cleaning the well house, springhouse, or reservoir. Scrub interior surfaces with a solution of ½ gallon of bleach mixed with 5 gallons of water. Pump out any debris or suspended solids before proceeding.
Step 2: Determine How Much Bleach to Use
To disinfect your well with a 50 ppm chlorine solution, refer to Table 1 for guidance. If you don’t know your well’s depth, check with your well driller. For example, a 4″ well with 300 feet of water needs about ¾ gallon of bleach. When using 10-12% pool chlorine, use half the amount of 5% household bleach.
Step 3: Mix and Add the Chlorine Solution
Dilute the measured bleach in 10 times as much water before pouring it into the well. Avoid pouring concentrated bleach directly into the well.
Use a funnel to pour the solution through the well cap or vent opening. If you're unsure how to access your well, consult a licensed well contractor.
Step 4: Safety Precautions
Wear gloves, goggles, and protective clothing to avoid contact with bleach and fumes. Do not pour bleach on pump wires. If needed, use dry chlorine pellets instead.
Step 5: Circulate and Test
Circulate the solution by running a hose from a faucet back into the well for 15 minutes. Stop and start the pump a few times to distribute the chlorine. Use a chlorine test kit to ensure the concentration reaches 50 ppm or more.
Step 6: Disinfect the Plumbing System
Run water through every faucet and outdoor spigot until you detect the presence of chlorine. Let the chlorinated water sit in the pipes for at least 2 hours, up to 12 hours, or overnight if possible.
Step 7: Flush the System
Flush the chlorine out by running the water outdoors away from your septic system, lawn, or garden. Avoid discharging into waterways. Use the remaining water in the pipes as normal.
Step 8: Final Steps and Retesting
Backwash water softeners, flush the water heater, and replace filters. Retest the water after all chlorine has dissipated. If bacteria are still present, repeat the shock chlorination process. Until results are safe, use bottled or boiled water.